

Serrated knives are kind of amazing in that they can still keep on cutting long after a plain edge has gone dull. This is because their pointy teeth magnify the forces behind the edge more than a simple plain edge can, giving you the old truism "one more cut, no matter what!" But even so, after a LONG time, those teeth get rounded, and serrated edges get dull. But never fear! Today I’m going to teach you how to sharpen a serrated knife.
What You’ll Need
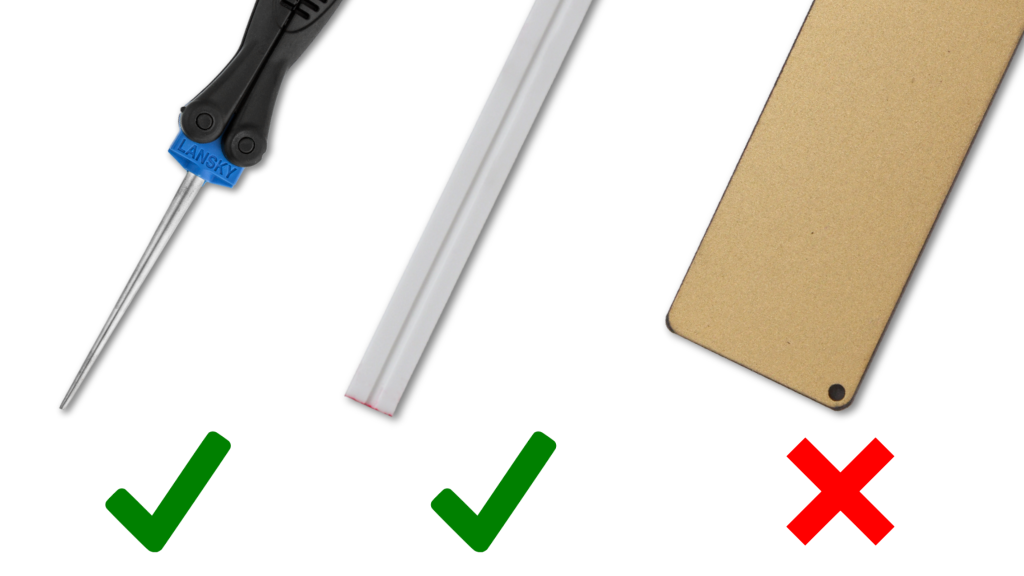
The Right Sharpener – You’ll need a sharpening rod or cone with a decent abrasive grit, or a triangular stone with a consistent corner. Not a whetstone, not a diamond plate, not an electric sharpener.
Patience – Sharpening serrations is a labor of love. It’s slow and kind of boring, but your efforts will be rewarded.
And that’s it! Let’s sharpen a serrated knife!
How It’s Done
Step 1: Identify what type of serrations you have.

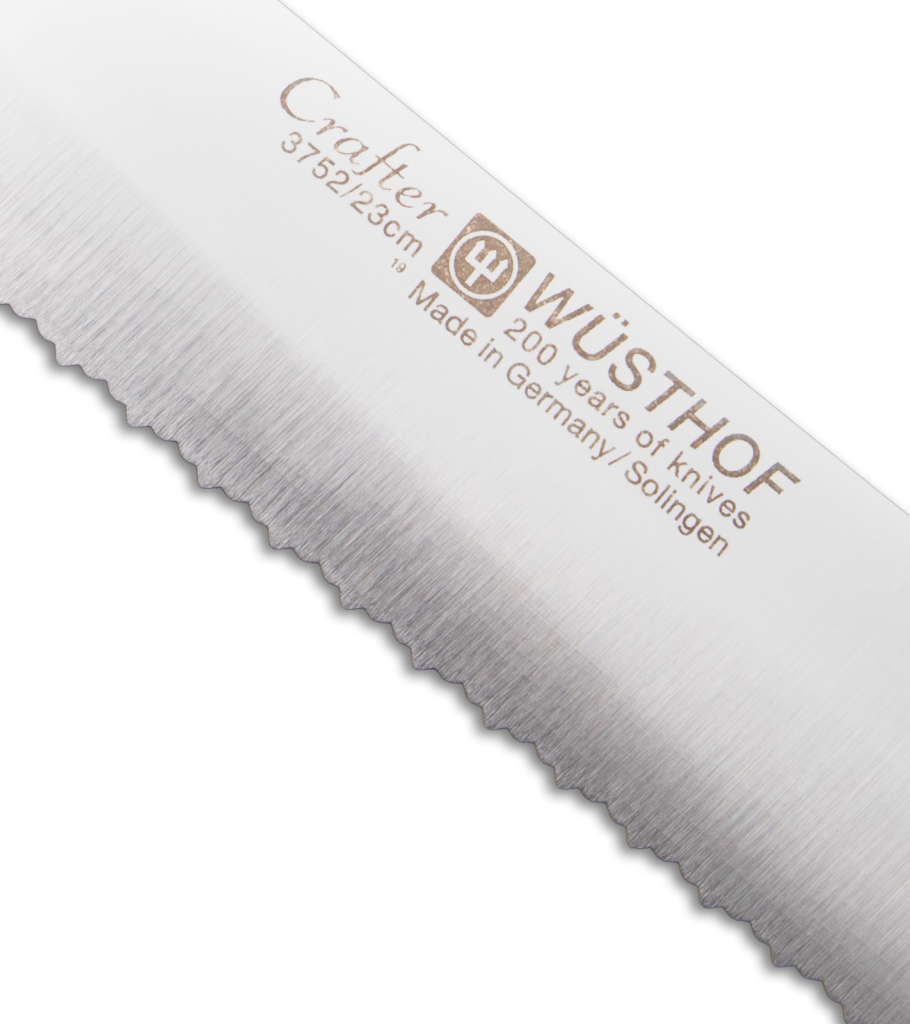
Not all serrations are the same. Most come to points, while others are rounded, ground into a plain edge, or who knows how many other kinds. This article will focus on the pointed serrations, pictured above. Sometimes they have serrations of different widths, sometimes they’re all the same. But if they come to points like you see above, this process will work. If you have another kind of serrations, the process might be a bit different, and I’ll describe it below in the Other Types section.
Step 2: Focus on one individual serration.
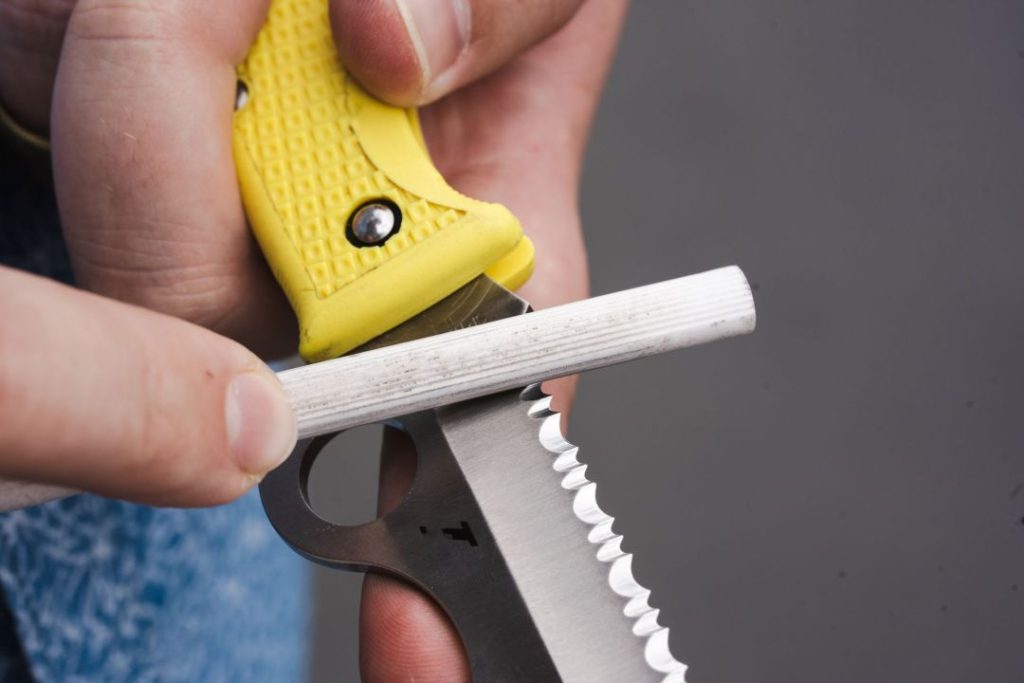
Each serration has two points and a valley in between. To sharpen it, you’ll use a sharpening rod the same sizeas or smaller than the serration. and place it in the serration at the angle the edge is ground to. Then, you’ll move the rod back and forth, gently wearing away material until both the valley and points are sharp. If your rod is smaller than the serration, you’ll need to move it back and forth within the serration to sharpen all of it. If you’re using a v-style sharpener like the Spyderco Sharpmaker, you’ll use the corner of the stone and move the knife instead. You’ll know you’re done when you feel a burr forming on the other side of the serration.
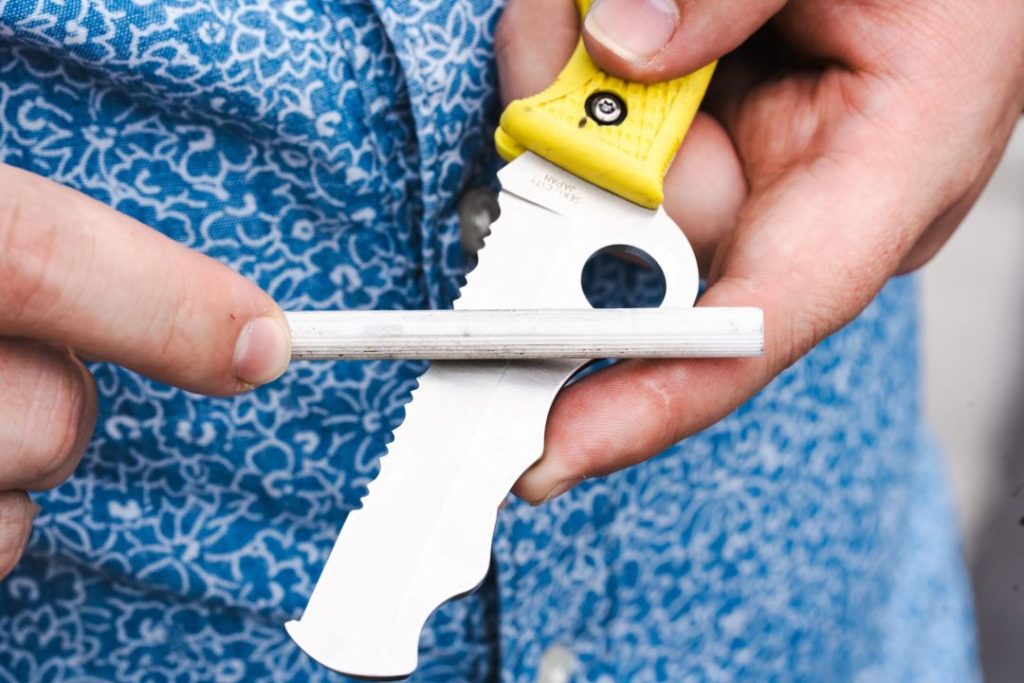
You can also use a sharpening cone. That cone will be able to fit a wide variety of serrations. And if you don’t have a cone, you can use a rod bigger than the serration. The might of a serrated blade comes from the sharp points, and a bigger rod will still sharpen them, but it will leave the valleys unsharpened.
Step 3: Repeat step 2 for all serrations on your blade.
If you do it right, each serration will take you about a minute or two. If you’re sharpening a big knife, it can take an hour or more. I warned you earlier, it’s a long process. Just throw on your favorite podcast, turn off the camera on that Zoom meeting, or sit around a campfire, and it will go by fast!
Step 4: De-burr the serrations.
Using the same rod you just sharpened with, or a leather strop if you’re feeling fancy, do a few gentle trailing passes along each side of each serration. This will knock the burr off and leave you with a sharp serrated edge!
Conclusion
As you can see, it’s not a complicated process, but it is a tedious one. The good news is that because serrated knives stay sharp darn near forever, you won’t have to do it very often.
Other Types of Serrations
These are other types of serrations you see from time to time, but none of them is common on knives.
Scalloped Serrations

These ones are kind of like upside-down serrations. Instead of coming to points, they come to a rounded top. Lucky for you, these are quite a bit faster than conventional serrations to sharpen. You’ll need a flat sharpener like other knives. Look for a bevel on the back of the serration that looks kind of like a conventional edge bevel. Sharpen that like you would a plain edge until you have a burr on the front side of the serrations, and then strop both sides and you’re done.
Veff Serrations
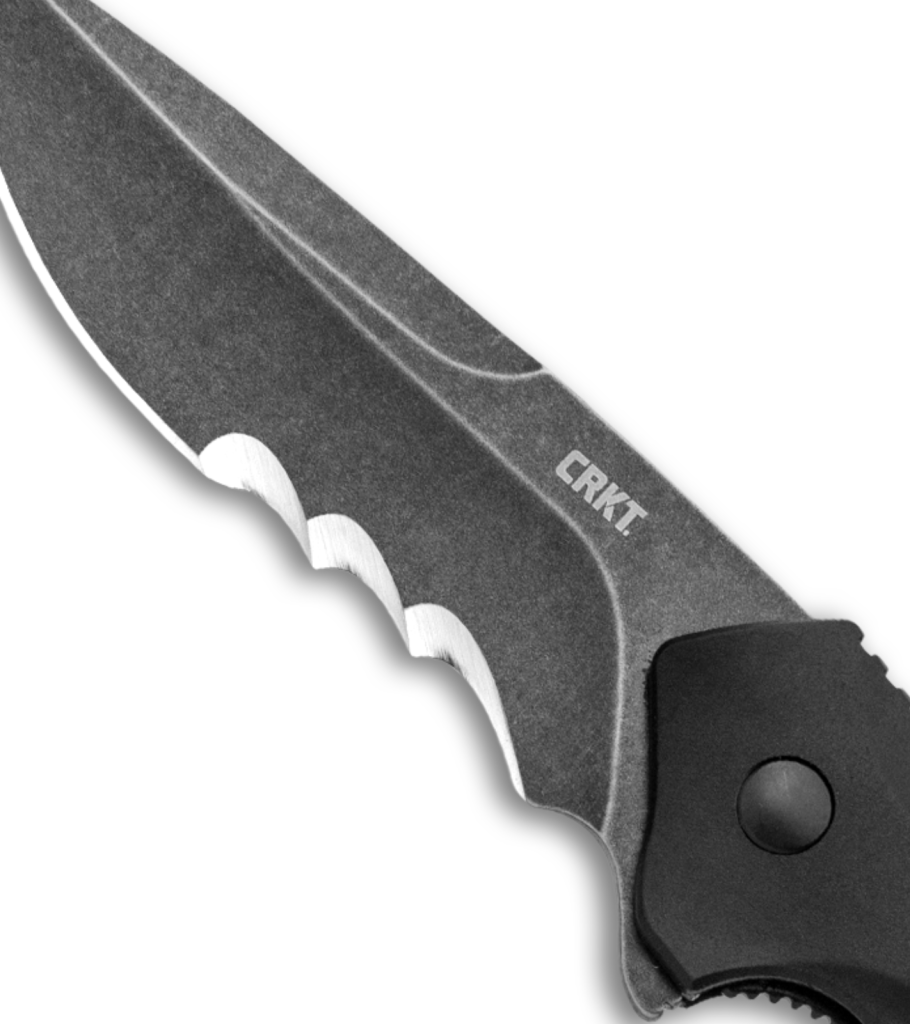
These are exclusively found on CRKT knives, and they are a pull cutting MACHINE. To sharpen them, you’ll do the same process as above, but make sure you put the rod in at the same angle as the serrations, about 45° from the edge.
Double Serrations
These are like conventional serrations with little serrations on the inside. Serration-ception, if you will. To sharpen them, pretend the big serrations don’t exists and sharpen only the little ones within in the way described above. It will take a long time, likely many hours. But hey, it’s not about to sharpen itself!
Ground-In Serrations
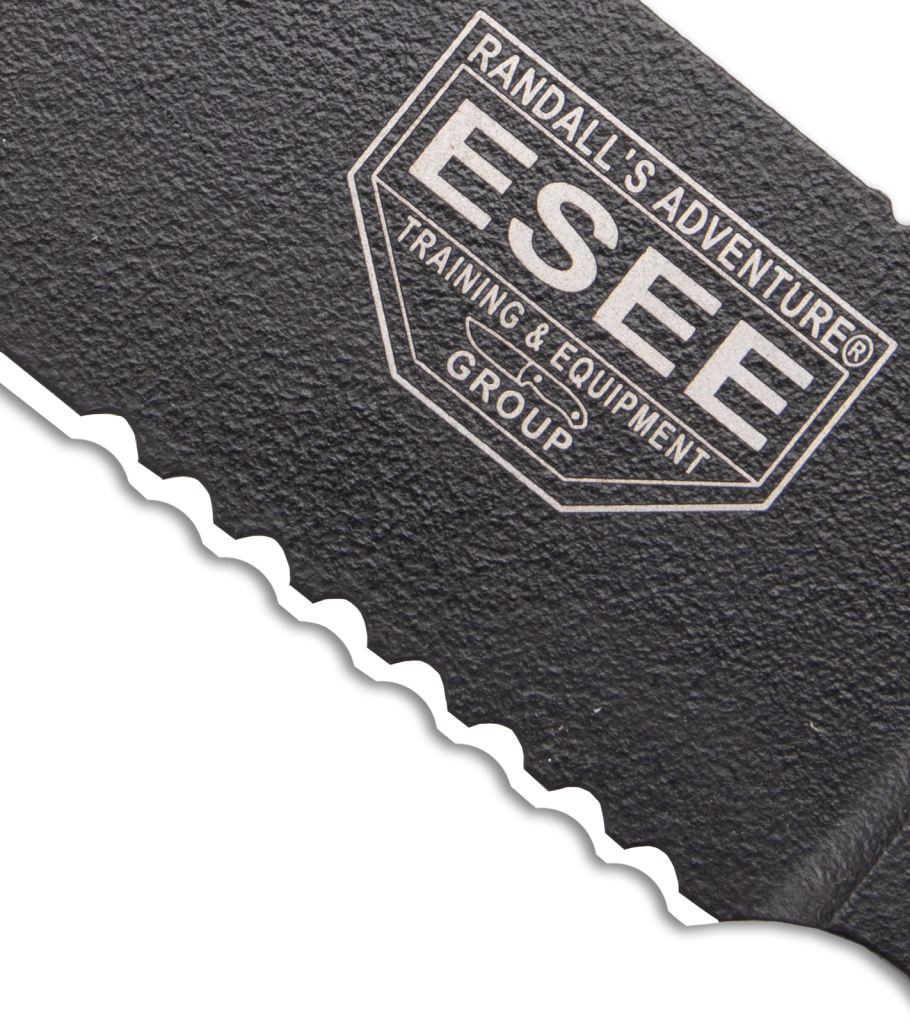
These are notches ground straight into an otherwise plain edge. You see these on ESEE knives, and Chris Reeve does ground-in serrations on both sides of the bevel. Fancy! To sharpen them, just sharpen the edge the same way you would a plain edge. When stropping, make sure the serrations are free of dust and burrs, and you’re done. Probably the easiest kind of serrations to sharpen!
Wavy Serrations
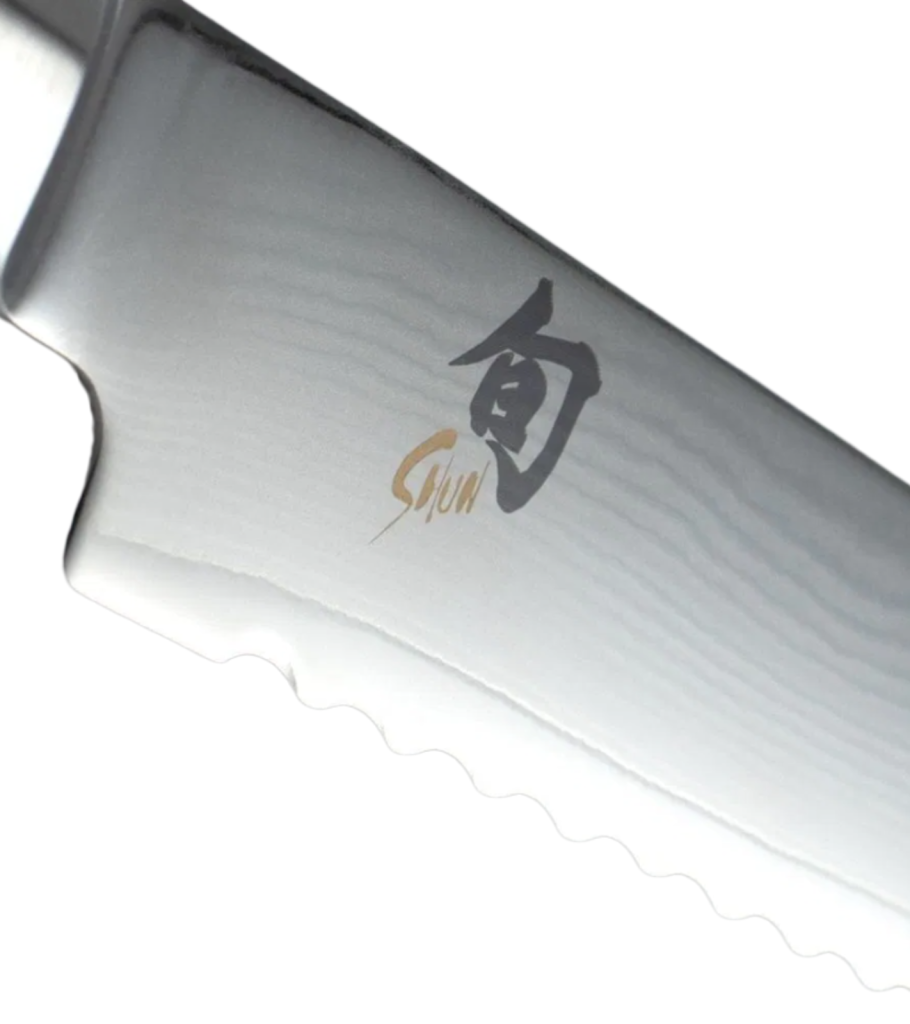
These aren’t truly "serrations", as they have a consistent apex. They sharpen just like a plain edge, but they can be tricky because of the waves. For the easiest sharpening experience, I recommend a motorized belt sharpener. Belts have an easier time moving with the edge.
Saw Teeth
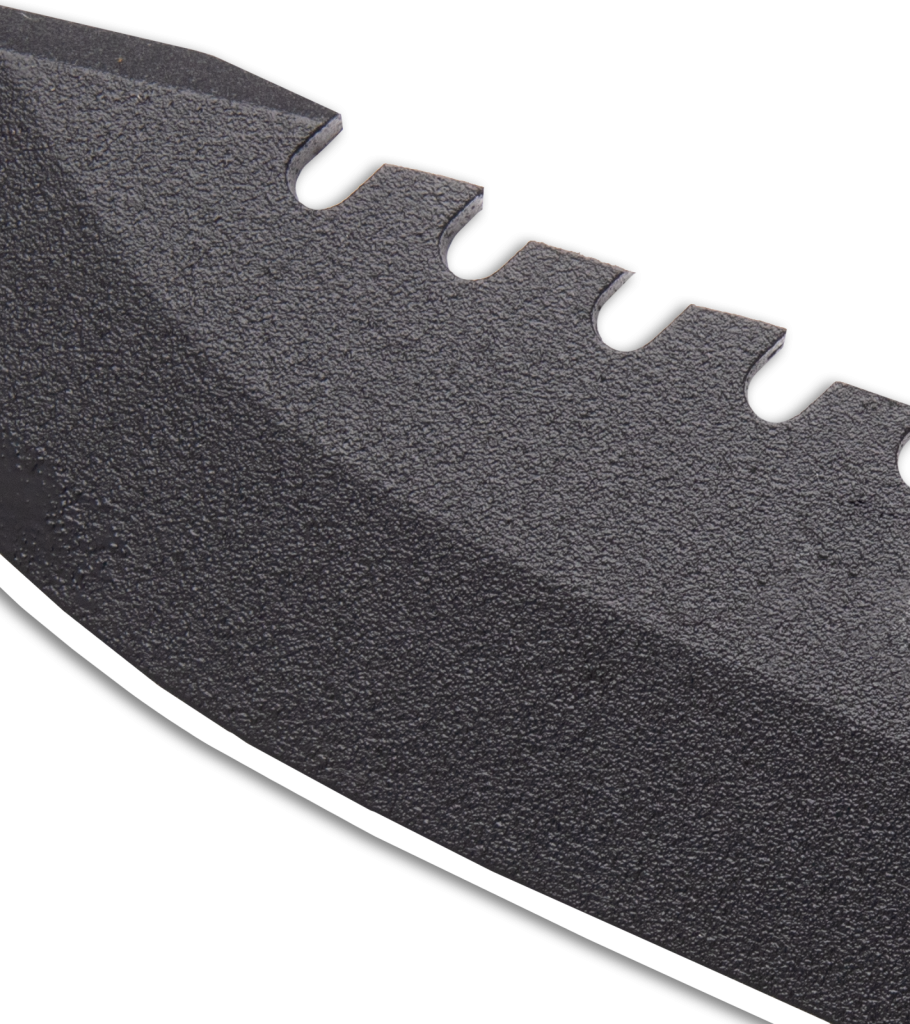
Saw teeth differ from serrations in that they cut a kerf, or a slit left behind after cutting. To accomplish that, each tooth is sharpened perpendicular to the blade. Usually they’re found on dedicated saw, although you sometimes see them on the spine of a knife or machete. You’ll need to sharpen each edge individually as though it were a plain edge. You should also know that there are a bunch of different kinds of saw teeth as well. The woodworking community will have more specific saw sharpening instructions should you need them.